

Hi everyone, just short announcement to share that I’ve uploaded the missing single releases of music to my YouTube channel. See the playlist here. Rest of the blog will be a recounting of how I did this and the problems I ran into, since it might help anyone else trying to do the impossible (i.e. uploading a vignette onto YouTube).
(NB: I’ll by uploading source materials for the single releases onto their pages at https://speedyvelcro.com/music - CC BY 4.0 of course - if you want to reproduce any of this).
So basically the story starts with trying to put together a generic video splash screen for my music videos that are part but of some larger album. I wanted to keep it simple - none of this after effects malarkey - so I decided the splash screen would be created in GIMP and kdenlive would be used only for attaching the audio (tbf I could probably save even more time by just going straight to ffmpeg for this, which I might do in future).
I also have a fresh new 4K monitor, which I know is a bit overkill for displaying this kind of content, but still I wanted something that would look nice and crisp and clean.
So after a bit of faffing about with the align tool I created this lovely image:
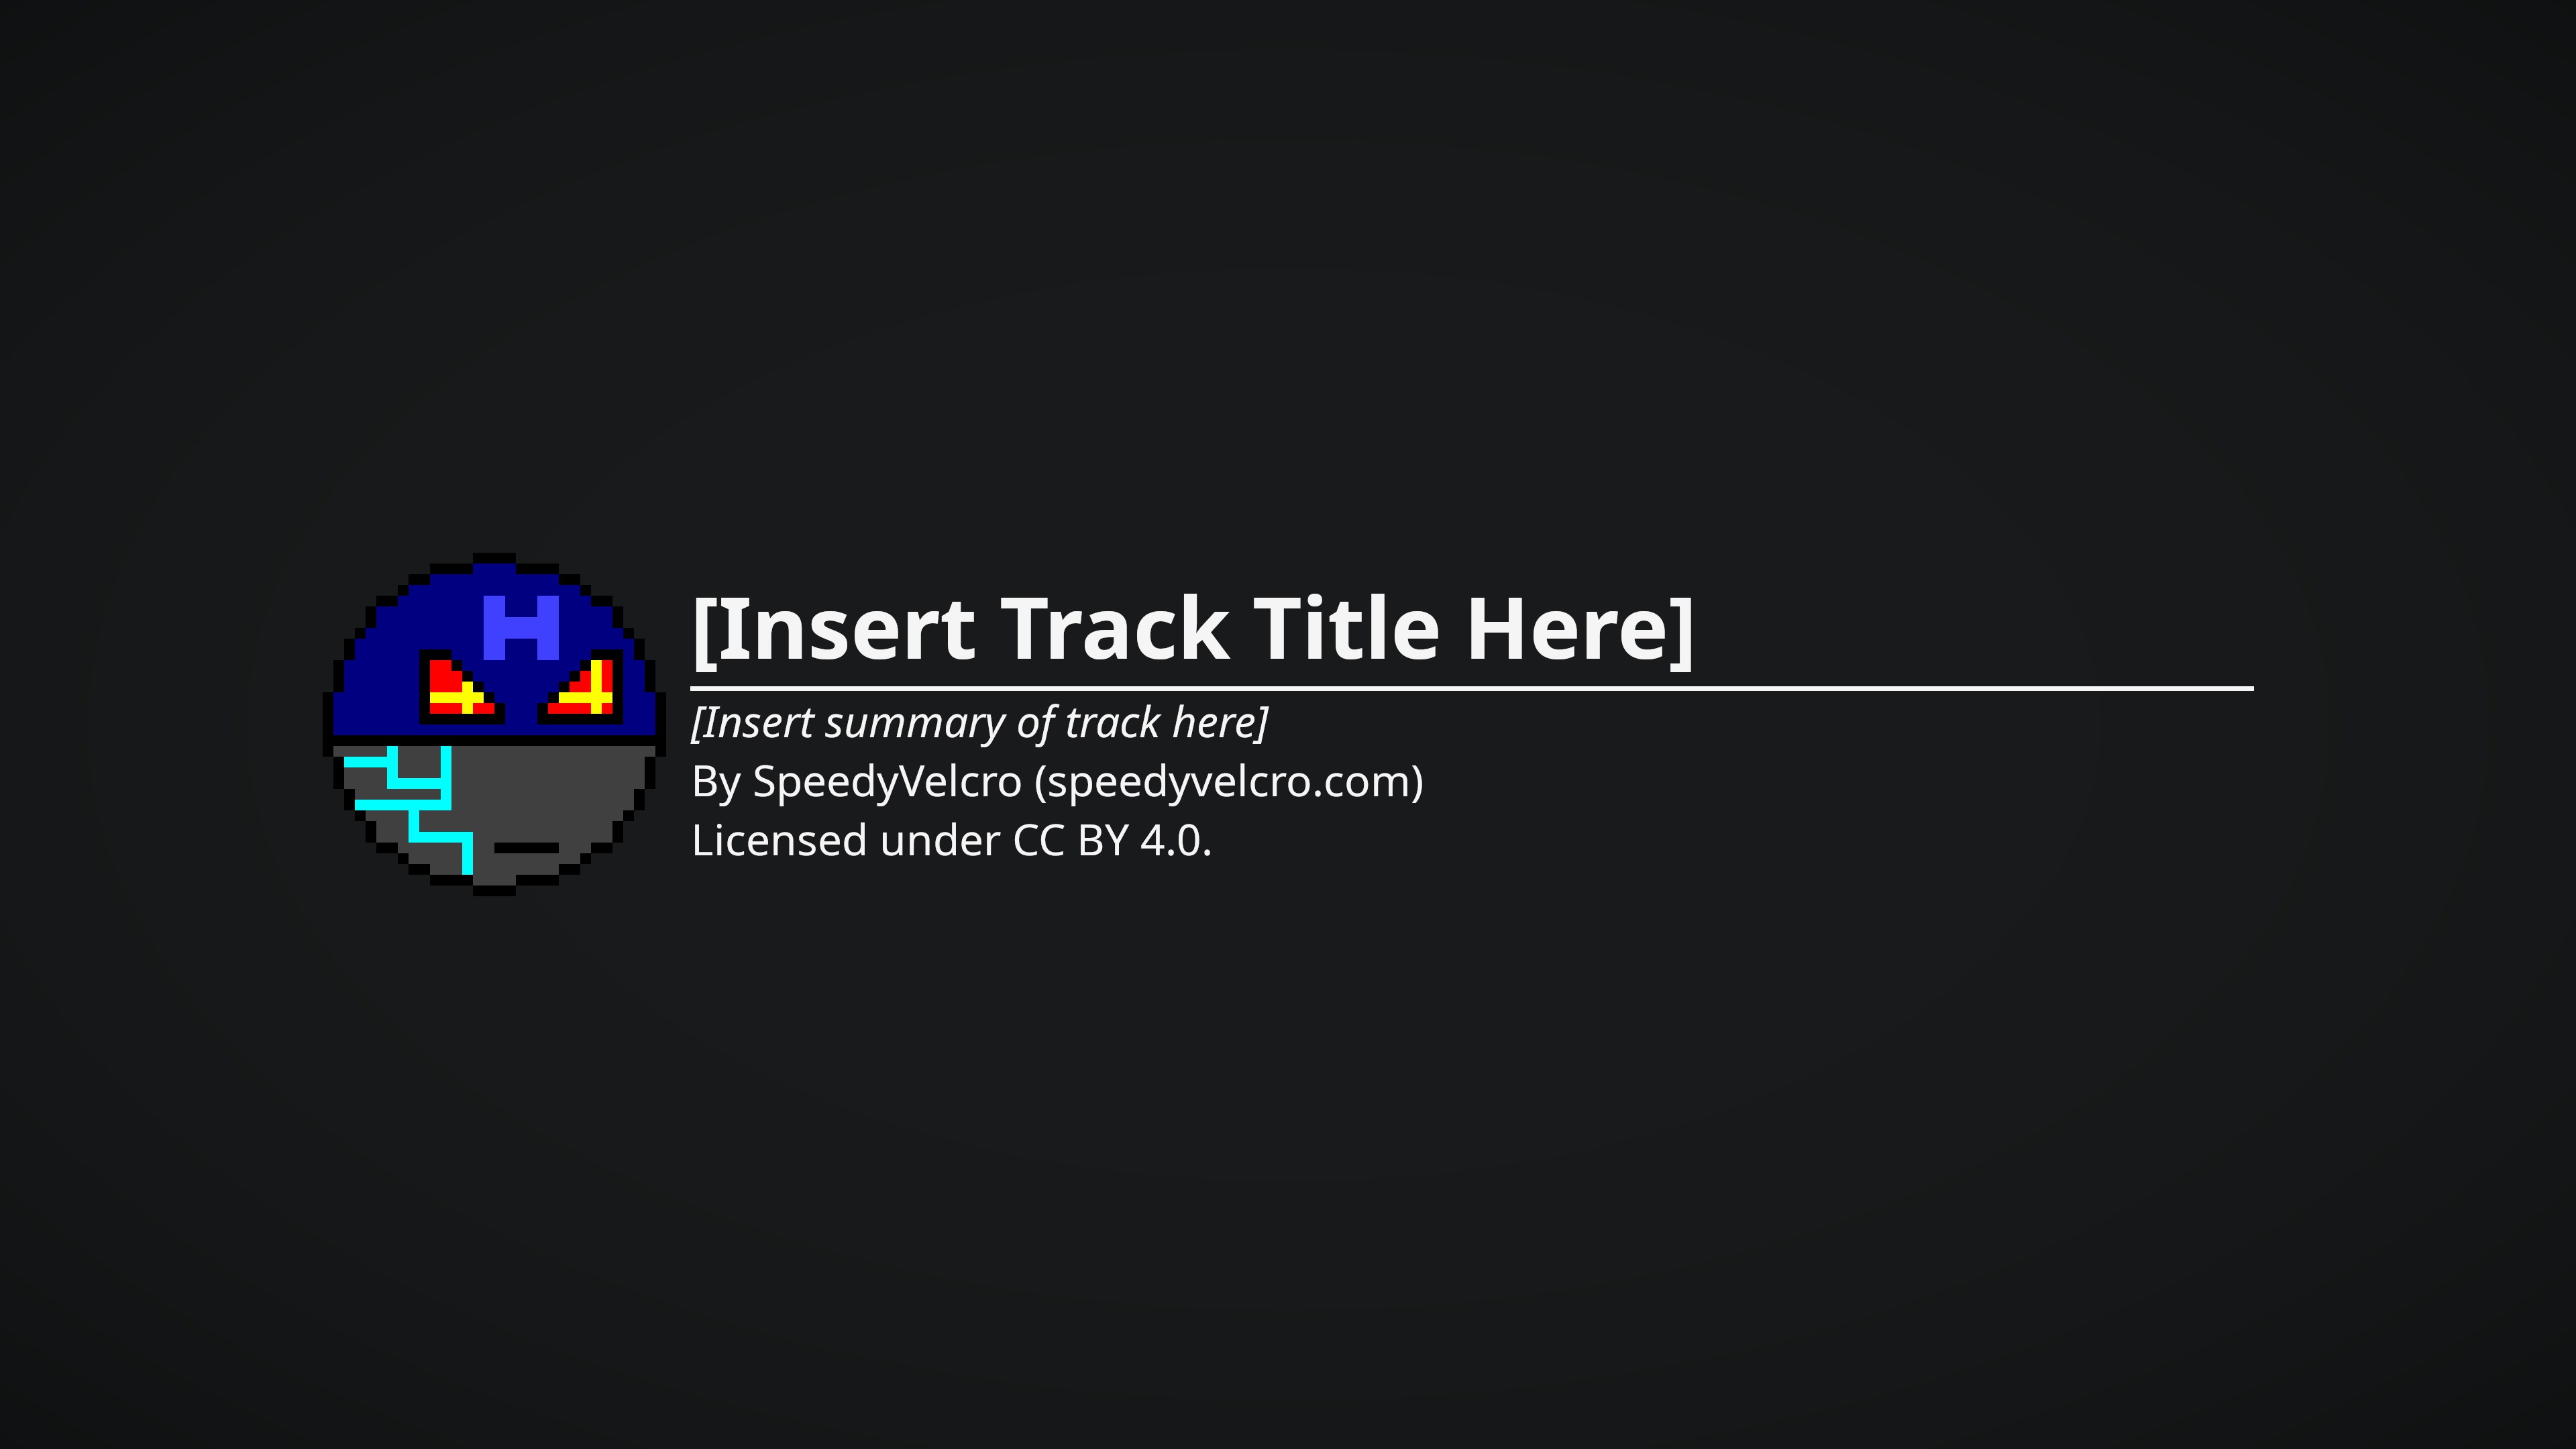
I’ve always liked the look of a vignette over a solid colour background. It’s minimalistic and aesthetically pleasing in a way that tickles my brain. But this is where the problems start, because what sounds like a simple setup is actually a massive pain-in-the-ass to get right.
First problem is the banding. This happens because the colour space of the image doesn’t have enough shades of grey to show a smooth transition, but it can be fixed by just applying a spread blur to the vignette layer:
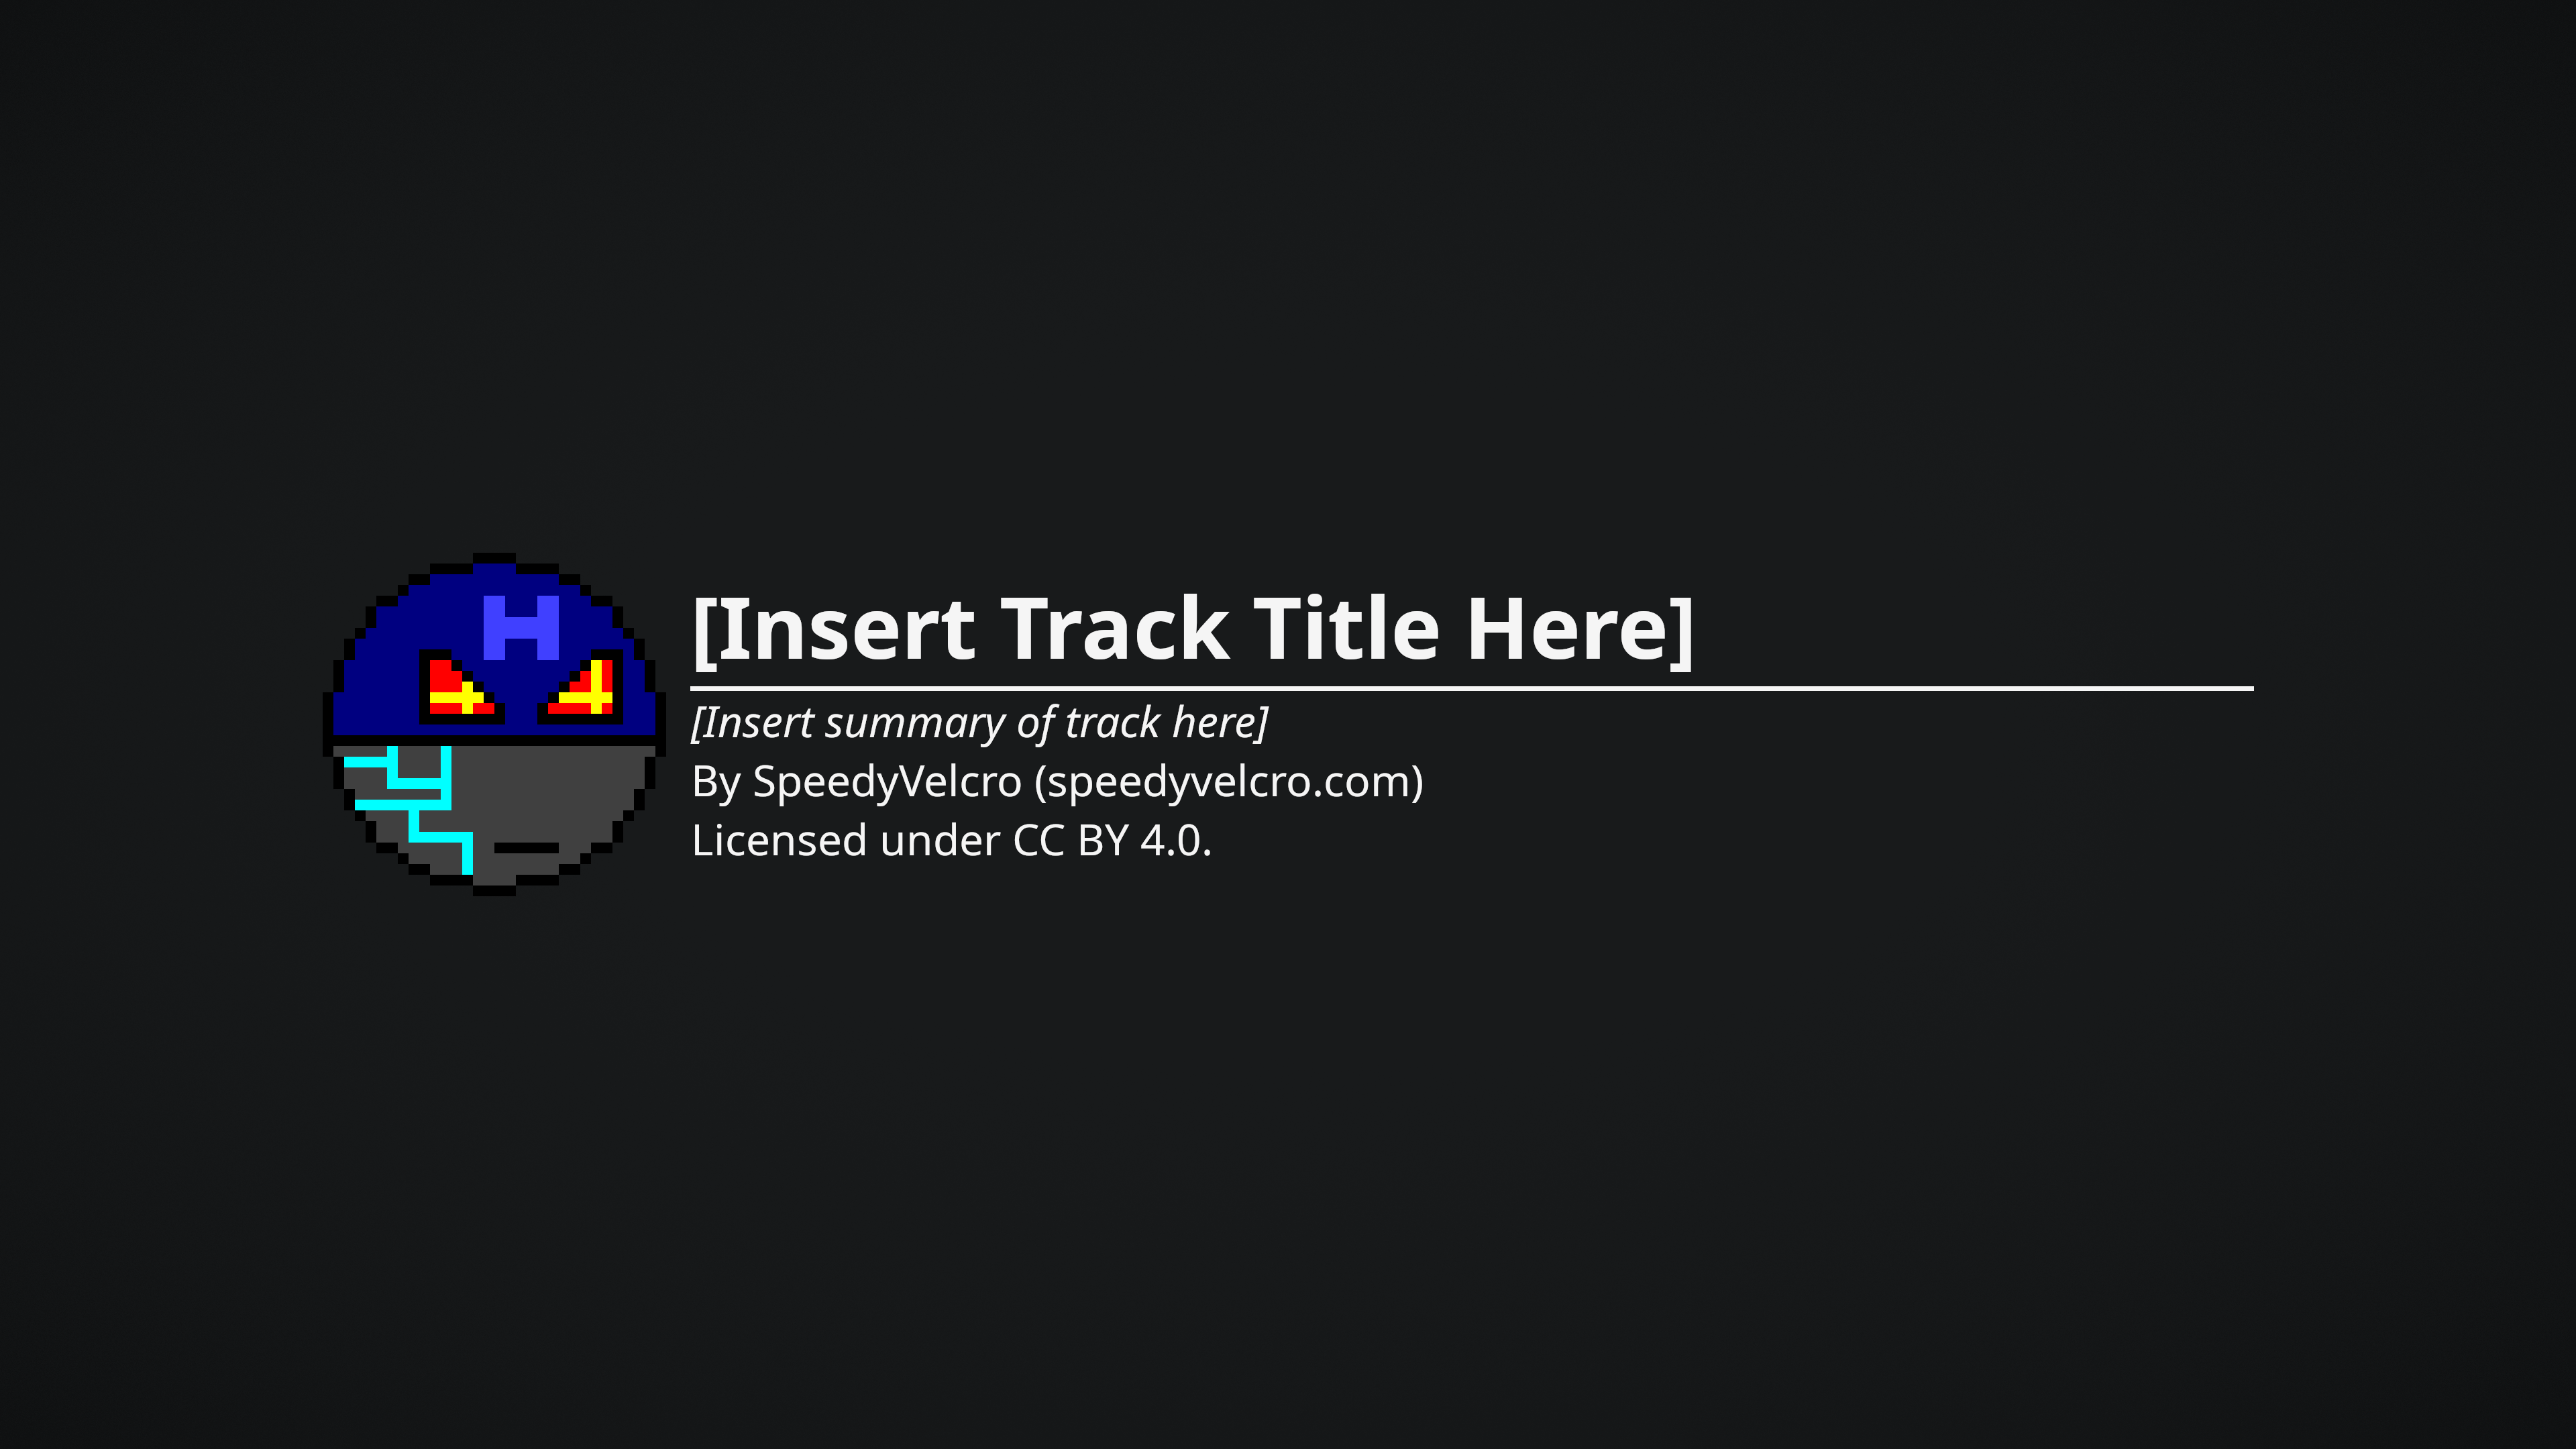
Much better. Not perfect - you can still kind of see it if you stand far enough away from the image - but I felt like it was good enough for the time being (and by the time I’d noticed this I’d already rendered out all my backgrounds and couldn’t be bothered to go back and redo it).
So that’s it solved, right? Well not so my friend.
When I uploaded the final video to YouTube the result was horrendous:
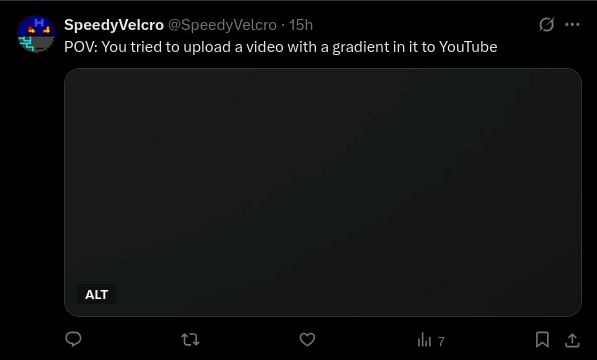
This is pretty much where the story ends unfortunately because everything I tried didn’t work, including all the tips to reduce banding that people suggest for YouTube uploads such as:
- Adding a subtle noise to the entire video (idea being it tricks YouTube to compress static areas less because it think there is motion)
- Rendering in ProRes format
- Actually that’s all I can remember right now but I’m pretty sure there are more things I tried
It might be that this YouTube wisdom is more applicable to live-action video. I think I have to accept that a smooth gradient or vignette over a solid background just isn’t possible with YouTube’s compression. So in the end I just got rid of the vignette.
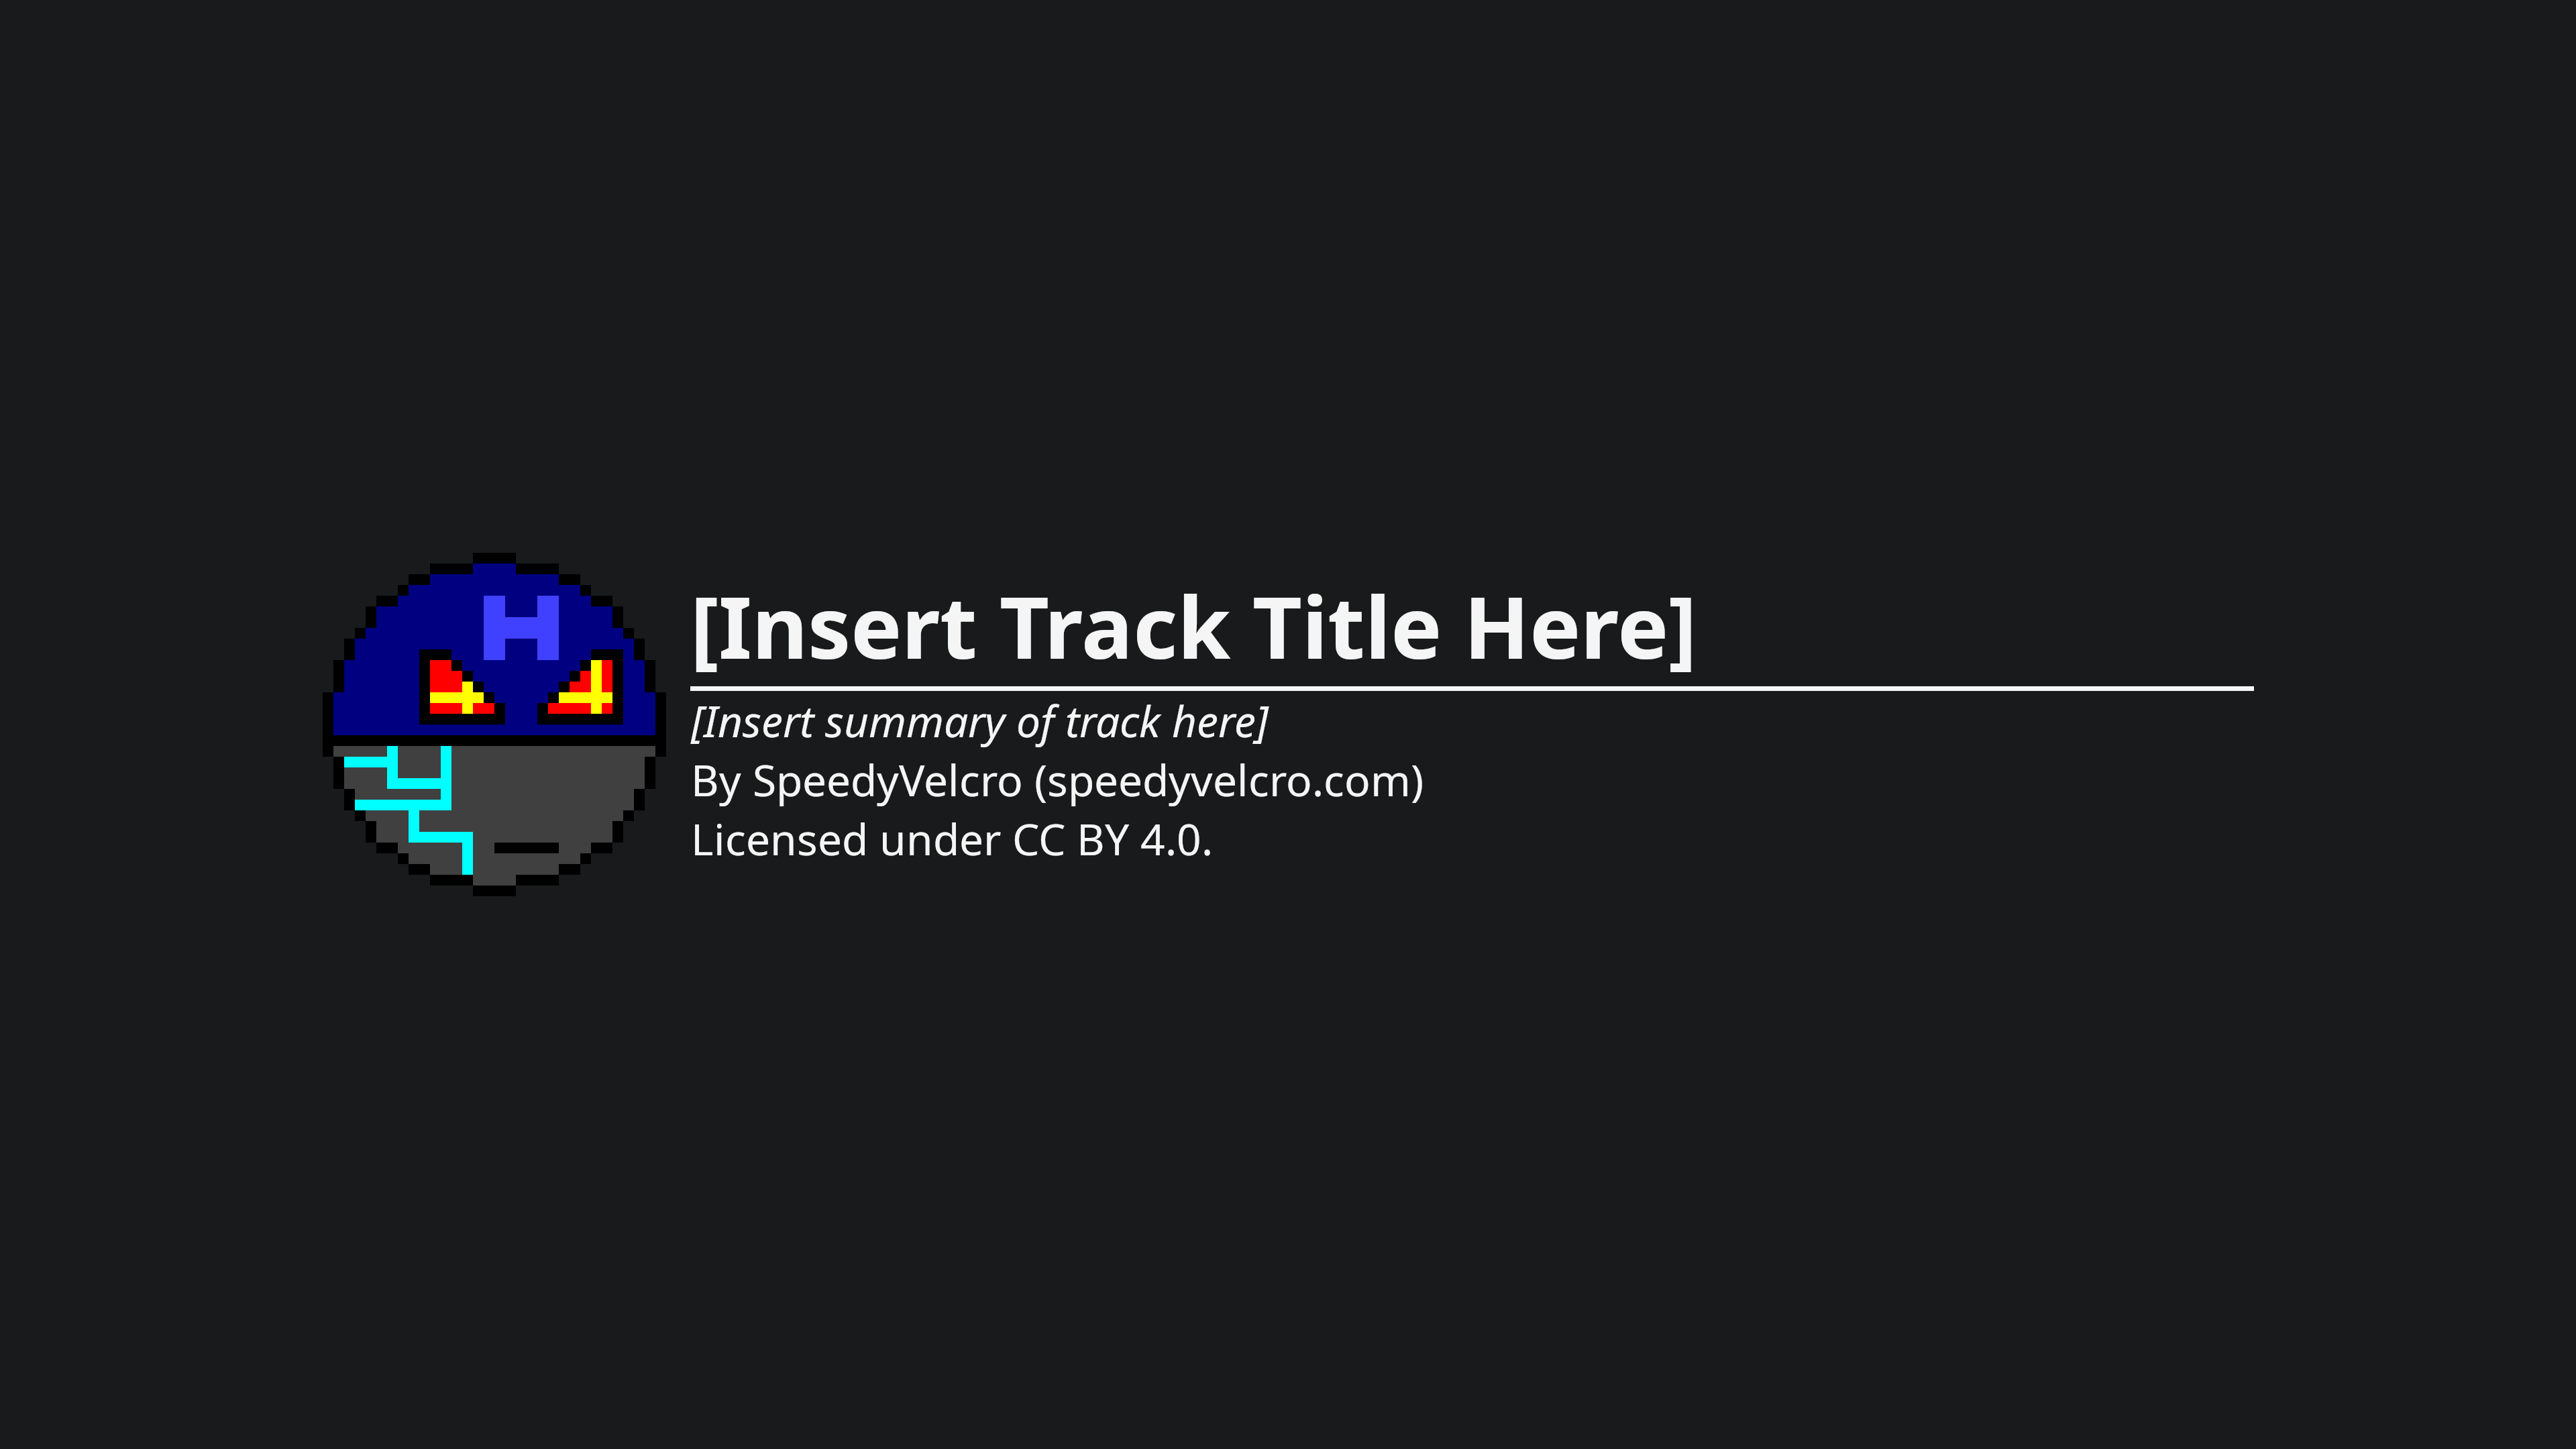
You can download the template here (it also includes the vignette as an invisible layer). Licensed under CC BY 4.0 of course.
To be honest the no-vignette look has actually grown on me. And without the banding, that actually gets my the “crisp and clean” look I was going for in a way that survives YouTube compression.
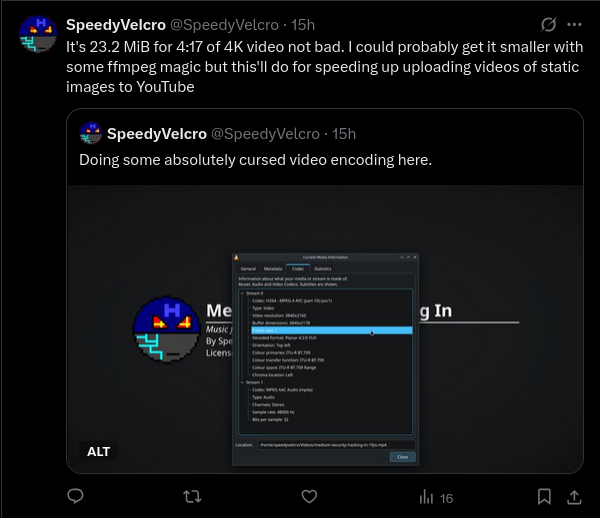
As an aside, while I was doing this I found a neat trick that saves time uploading your videos if they’re just a static images: render your video at 1fps.
So that was disappointing. Not really any usable finding here, other than the moral of the story being “don’t bother”. But hopefully this article saves someone else several wasted hours of trying to upload a gradient to YouTube.
Anyway, this is a long-ass blog post for such a rudimentary issue, but the point is more to flex my blogging muscles and get into the habit of documenting my processes. I’ll likely have more interesting stuff upcoming. In particular, look out for upcoming blog posts on my MIDI setup and on music composition in general.

![[Valid Atom 1.0]](/assets/images/banners/valid-atom.png "Validate my Atom 1.0 feed")